Use your vegetable steamer and grab some pipe cleaners or even wool would work. Thread the pipe cleaners through the holes, you can also make patterns going back and forth.
- K.A.T.E. is full of endless resources for parents (yes for dads too) & caregivers, FUN and EDUCATIONAL ideas for children aged birth to 5 years old & helpful information to help make life that little bit easier....
Showing posts with label Arts and Crafts. Show all posts
Fine Motor Skills & Hand Eye Co-ordination.
Upcycling... Small & Medium size Boxes.
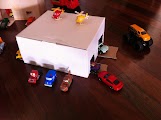
Just as I was about to throw this tissue box out, I thought how awesome it would be for my kids to use as a hideaway for their cars. And boy was it a hit!
Cut flaps out on one side or a couple, it's totally up to you.
Only cut three sides so you can push it back up to close the flap; that is part of the fun, then you can hide the cars away.
MAGNETS - Home Made & Personalised
We all have them.... You know that random collection of magnets on your fridge from business' that you have accumulated over the years?! If you are like me, I have very rarely looked at these for the actual details on them, really they just become holders for whatever I want stuck on the fridge.
Now with this great idea they are gone and we have fun, funky and kid friendly magnets instead, although still using the same old magnets from before.
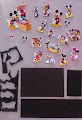
Get stickers of the kids favourite characters. For this I will show our "Minnie & Mickey" magnets.
I placed the stickers all over the old magnets making sure I utilised as much of the magnet as possible by laying the stickers down as close to one another as I could.
Then cut around the stickers in the shape of the character.
DONE, ITS THAT EASY!
FUN & FUNKY MAGNETS!
PS. If you do need the contact details of some of the companies on the magnets, don't forget to add them to your address book before you start this activity.
Christmas placemats & Coasters using Christmas cards
Home made I SPY GAME
GREAT FOR THE CAR when going on long trips.
I chose 20 random objects (avoid sharp things due to piercing bag) and then I laid them onto paper, ruled lines then placed an item in each section and took photos.
I edited photos by cropping onto a word document and printed it out just from my home printer.
Laminate to keep protected, put a hole punch in the corner then pop through a key ring.
I placed all objects into a zip lock bag once I had taken photos, then added rice to fill loosely, still giving room for the rice to be moved around.
Superglue the top closed where you zip it closed, put a whole punch in corner of bag, then join with picture card you have laminated.
All done.... yes it's a bit of work, but I enjoyed making it. It's easy, just a little time consuming with a few steps.
I spy with my little eye....................
Thank you to my sister for giving me this idea :-)
Learning DAYS of the week
You will need:
Click here to see my Season and Date Calendar Wheel
Halloween
I printed out my favourite "colouring in pages".
Don't forget "orange food" for morning tea like carrots, peaches, orange jelly, cheezels, oranges, burger rings, mandarins and steamed pumpkin.
HAPPY HALLOWEEN EVERYBODY!!!!
LAMINATOR- my essential item as a mum
If there is one item I would highly recommend buying as a parent, it would be a laminator. On special they can be as cheap as $15-$20.They can be used for so many projects, activities and for gifts.
Once the kids create their master pieces, laminate them and they are a perfect gift for grandparents, family and friends as a placemat or a bookmark.
I also always laminate art work my kids have done which are really important to me or a favourite of theirs. One day I want to look back at the first time they drew a person, wrote their name or wrote "to mummy", these are the ones I have made sure are laminated to protect them as my treasures.
When making bookmarks:
- Cut out paper the shape you want the bookmark. Be creative, make different shapes like hearts, squiggly snakes, zigzags, stars.
- Get the kids to draw on one side.
- Stick photos of the kids on the other side.
- Hole punch the top and add some ribbon.
Corn flour paint (or finger paint)
- Corn flour.
- Food colouring or a few drops of paint or glitter paint.
- Water.
I have added some glitter paint to corn flour in the picture.
Shaving Foam BATH Play
- Shaving Foam (sensitive skin variety better for young children).
- Food Colouring of your choice.
- Bath & Kids!
Click here for a natural more gentle alternative using corn flour.
COLOUR theme days or activities
My kids already know their colours but that doesn't stop us from loving games that are based around particular colours. You don't need to be learning colours to set up these activities.
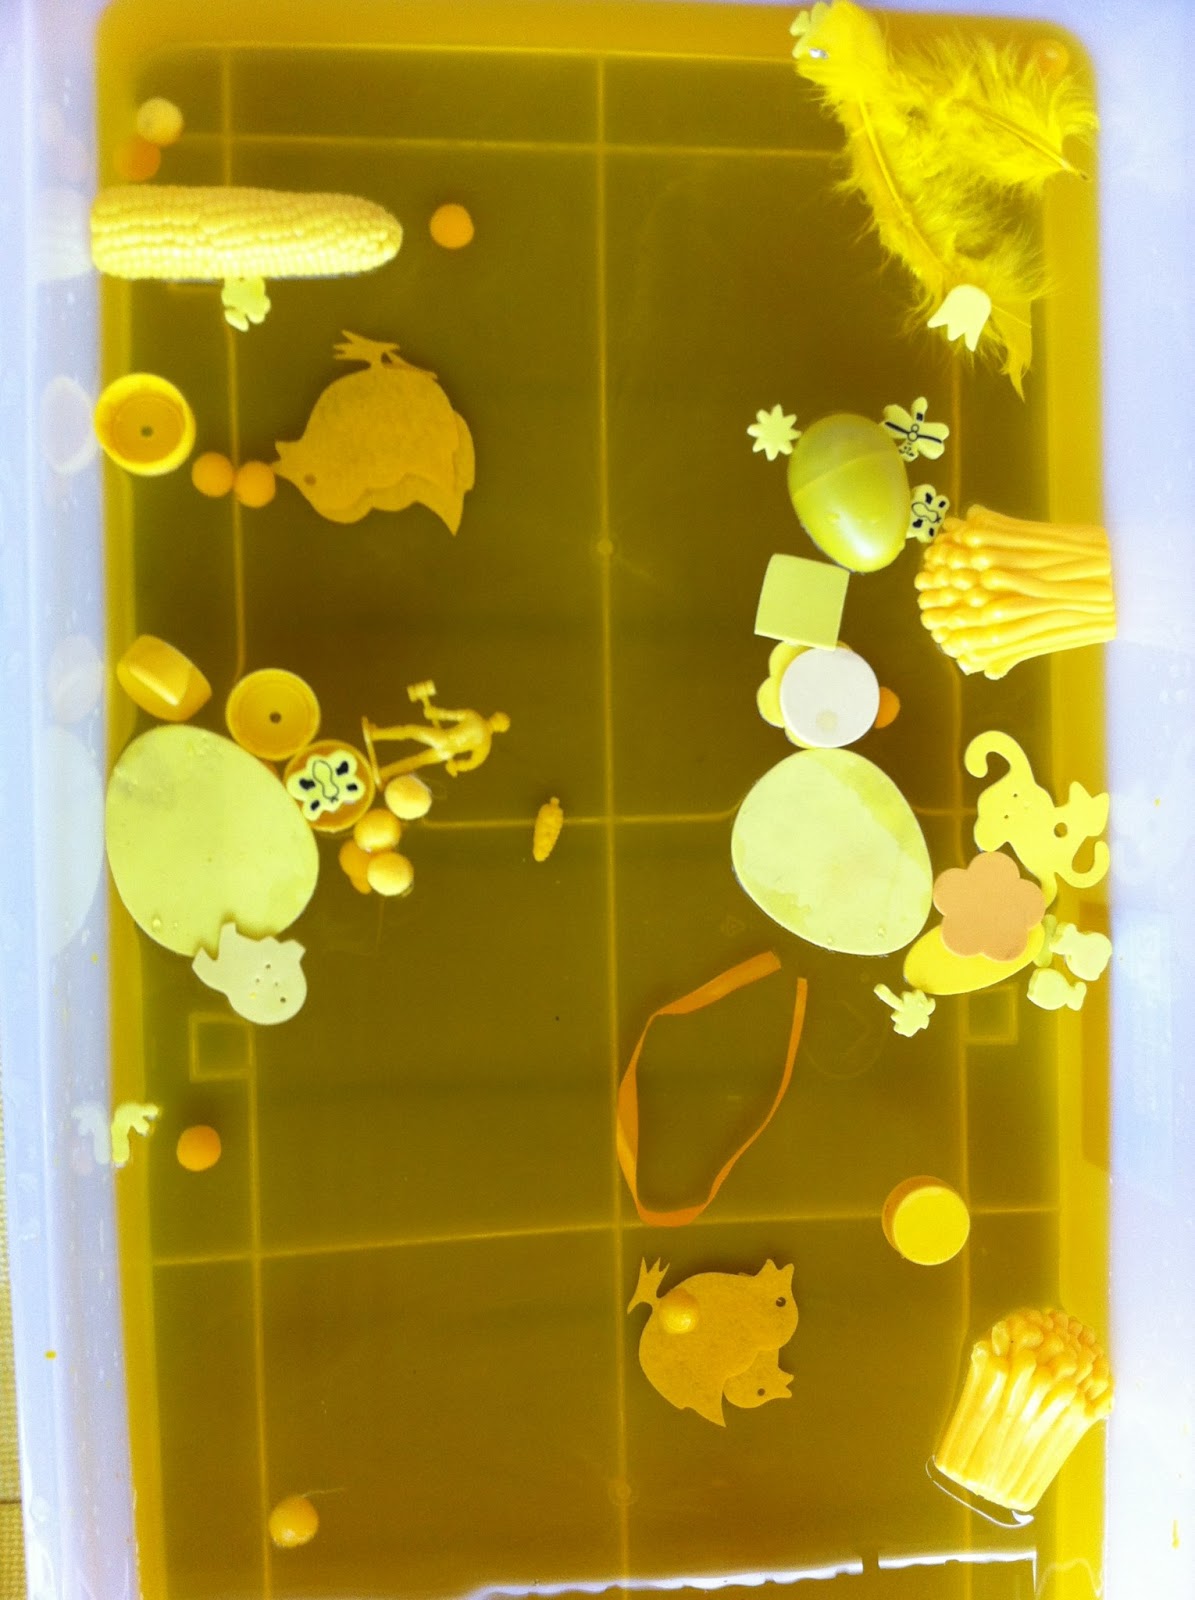
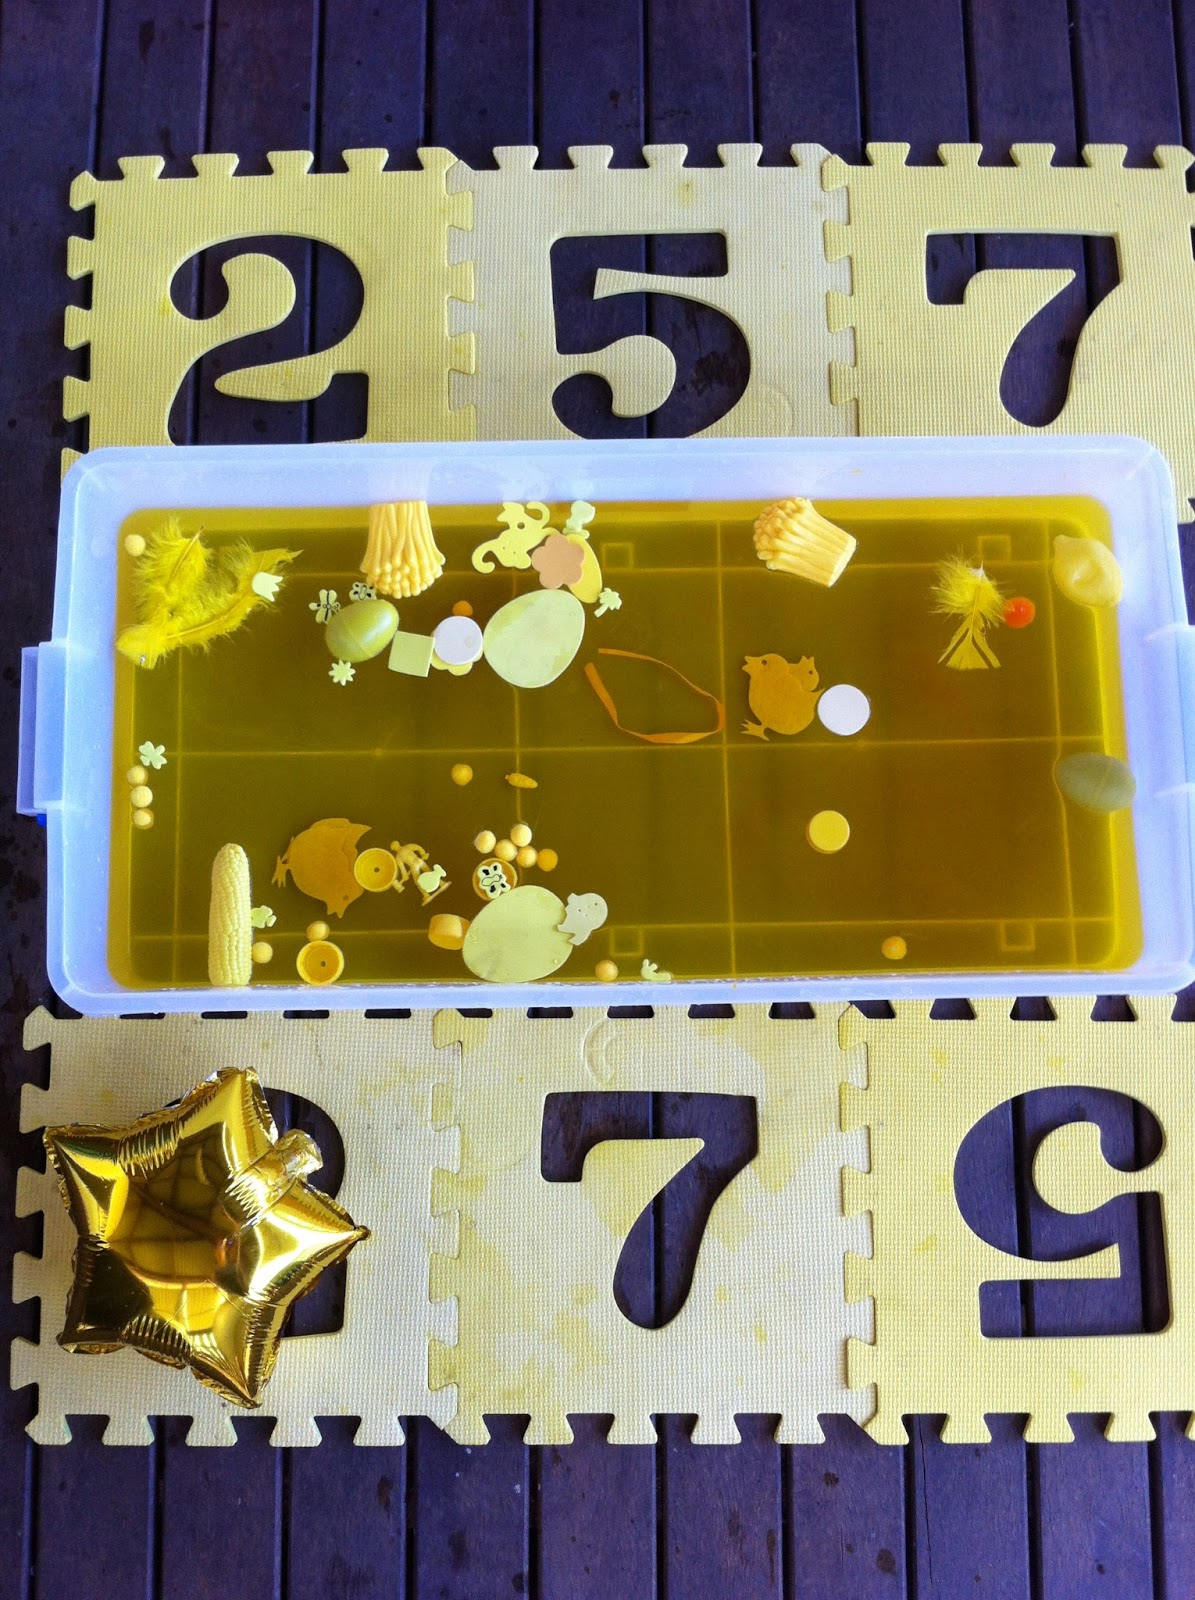
Here is one example of when we did a YELLOW EXPERIENCE.
I just used an under bed storage container and filled with warm water and yellow food colouring.
I collected a bunch of yellow materials that I had in my arts and craft collection. Then used the yellow number mats for padding around the edge for the kids to kneel on.
The next day, we followed on with this activity by adding the above materials to their bath with a few drops of yellow food colouring again.
Press your BUTTERFLY to life
- Coloured Paint
- Glitter
- Decorations
- Fold an A4 sheet of paper in half, either way and push firmly to make crease. Open up flat again.
- Drop a few small spots of paint on the middle crease. Too much paint will just ooze out ends.
Close back in half then softly and slowly with the flat palm side of your fingers, slowly sweep from the middle of the paper out to spread the paint.
- Open up to reveal your surprise masterpiece.
- After doing one, the kids will get the hang of it and what happens and then they can make designs more on purpose, like making wings.
- The pictures usually end up looking like a butterfly or some of ours look like aliens.
- Once dry, we decorated these with little gold gem stickers and glitter. They are a favourite in our house.
Home made QUOITS
Fantastic for HAND EYE CO-ORDINATION, gross motor skills plus concentration skills.We have loved playing this. My toddler and preschooler have a blast.
- 1 empty tissue box
- 1 empty paper towel cardboard roll (we stuck some green contact adhesive over it)
- 10 paper plates.
- Cut the middle out of paper plates.
- Decorate them with coloured textas (markers).
- Put a small hole in bottom of empty tissue box.
- Push the large cardboard roll through the hole in tissue box so it fits snugly to stand upright.
Make PAINTING FUN by adding household items.
This time I used bubble wrap & styrofoam packing pellets that I had just received from my latest delivery.
Check out the awesome patterns these can make. They look really effective and would be great if you want to home make some gift cards and birthday cards for friends and family.
- Oh I must also mention that the containers holding everything are all recycled.
- The bubble wrap is in a little black rectangle plastic container that is from our rice crackers bought from the supermarket.
- The styrofoam packing pellets are in a crackers container, you know the sakata type.
- The paint blobs are in the bottom of our 10 litre plastic water container that we have cut apart.
PIPE CLEANER activities
We have made loads of shapes, games and art materials using them.
You can see our BUBBLE WANDS which I love. We added coloured beads to them and twisted the ends in lots of different shapes to blow bubbles from.
The GLASSES are so funky and look really funny on.
The PEOPLE SITTING around in a circle are playing ring a ring a rosie. My kids thought they were cool as they were all holding hands.
CLICK HERE TO SEE PIPE CLEANER CREATURES
Subscribe to:
Posts (Atom)